Get your hairspray, tight pants, and T-Top Camaro ready, because DIYRockAndRoll.com is setting the proverbial volume to eleven. That’s right, for this DIY Rock ExperimentTM, the fifth so far, I decided to create my own hard rock recording.
When I dreamt up the idea for this quirky do-it-yourself rock music blog, one of the first projects I thought of doing was hard rock. But as someone with background in acoustic music and Americana, I assumed that creating a piece of hard rock would stretch my skills to the absolute limit. It’s one thing to pivot from acoustic blues to blues rock or from country to rockabilly, but it’s another to pivot to hard rock. Or is it?
Let’s find out. Here’s how I went about writing and recording my DIY hard rock experiment–Carolina Girl. (And if you just can’t wait until the end of the article to hear the results–you can listen to the recording here or in the box below!)
Step 1: My Hunt For a Rocking Guitar Riff
Hard rock is the realm of killer guitar riffs, à la AC/DC and Led Zeppelin. Heck, some hard rock songs are basically guitar riffs the entire way, like this one:
So I decided I should start my DIY hard rock project in the same way–by composing a riff.
It turns out that it’s pretty darn hard to come up with an interesting riff in 2026, over seventy years into the evolution of rock and roll. So many of the iconic guitar riffs have already been invented. Plus, beginning with a riff felt counterintuitive as someone who usually writes songs starting with either lyrics, chords, or a scrap of melody.
For a while, my brilliant strategy for composing a riff was to hope one would drop out of the ether and present itself to me fully formed. After all, there’s the famous story about Keith Richards waking up to discover that he had composed the riff to Satisfaction in his sleep and had captured it on a portable recorder. As he told NPR’s Fresh Air, “I actually dreamt the damned thing.”1 Well I decided that if I thought about guitar riffs abstractly for long enough, then one would come to me while I was walking my dog or brushing my teeth.
That didn’t happen.
After a while I got impatient and decided that I’d actually have to sit down and try to write a riff. I came up with a few. A small handful were even decent. But none of them sounded like hard rock. After quite a few attempts, I realized that noodling aimlessly on my guitar wasn’t proving much more successful than hoping for divine inspiration.
Eventually I wondered if what I was missing was the foil of a steady beat. After all, so many of the iconic rock guitar riffs work in tandem with powerful drum parts. I started experimenting with improvising riffs over a basic drum track. That’s when the project finally started to take life. I set up a sturdy rock drum track on my Singular Sound Beat Buddy Mini 2, plugged in an electric guitar, and got to work. Inspiration took hold with the Beat Buddy set to rock pattern 2 at 116 bpm. Here are the Carolina Girl riffs in their earliest form–just electric guitar, Beat Buddy, and sloppy soloing. I made this recording within minutes of coming up with the riffs to make sure I didn’t forget how to play them!
Step 2: Coming Up With Hard Rock Lyrics That Don’t Sound Like Parody
The riffs I came up with seemed fairly modular. In other words, they were building blocks that I could rearrange to fit different song structures. So rather than finalizing the exact chord progression, I thought it would make sense to next come up with lyrics and then base the song structure around those.
Hard rock was already a stretch for my musical background, so I figured I needed lyrics that would feel fairly authentic. I hope that would keep the project from devolving into farce. I was worried that if I tried for, say, my own version of AC/DC’s Highway to Hell, I’d come up with something more like Spinal Tap’s Hell Hole. (Don’t worry, I think Spinal Tap is hysterical, but this blog is already silly enough without going fully into the realm of parody).
Instead of starting from scratch, I decided to sing snippets of old songs I’d written over the little demo riff recording I’d made. Eventually I landed on Carolina Girl, a song I wrote back in 2015 as a mostly-acoustic blues number.
I know I made some demo recordings of Carolina Girl in its original, acoustic form, but of course I can’t find any of them now. But, when writing this article I did rediscover an unfinished arrangement of the song that I had made during a brief and frustrating dalliance with Pro Tools a few years back. You can listen to that arrangement here:
I’ve learned a lot since this early arrangement of Carolina Girl, which was probably one of my earliest attempts to turn an acoustic song into a rock track. It definitely has some sloppy portions, but I kind of dig the country-boogie vibe and the Chuck Berry-derived solo. I think I played the leads on a 2008 Gibson Les Paul studio that I don’t own anymore. (Nice guitar, very light, but made me feel like a giant!). Anyway, at the very least, it’s kind of interesting to hear how the song “evolved.” Note the extra verse in this earlier version and the different choruses.
Step 3: Creating a Blueprint for the Song with Plenty of Room for Guitar Solos
One serendipitous piece of luck was that the verses of Carolina Girl fit a 12-bar blues progression–the same as the demo riff I had recorded. That meant I didn’t need to do much work to graft the lyrics of my verses onto my riff.
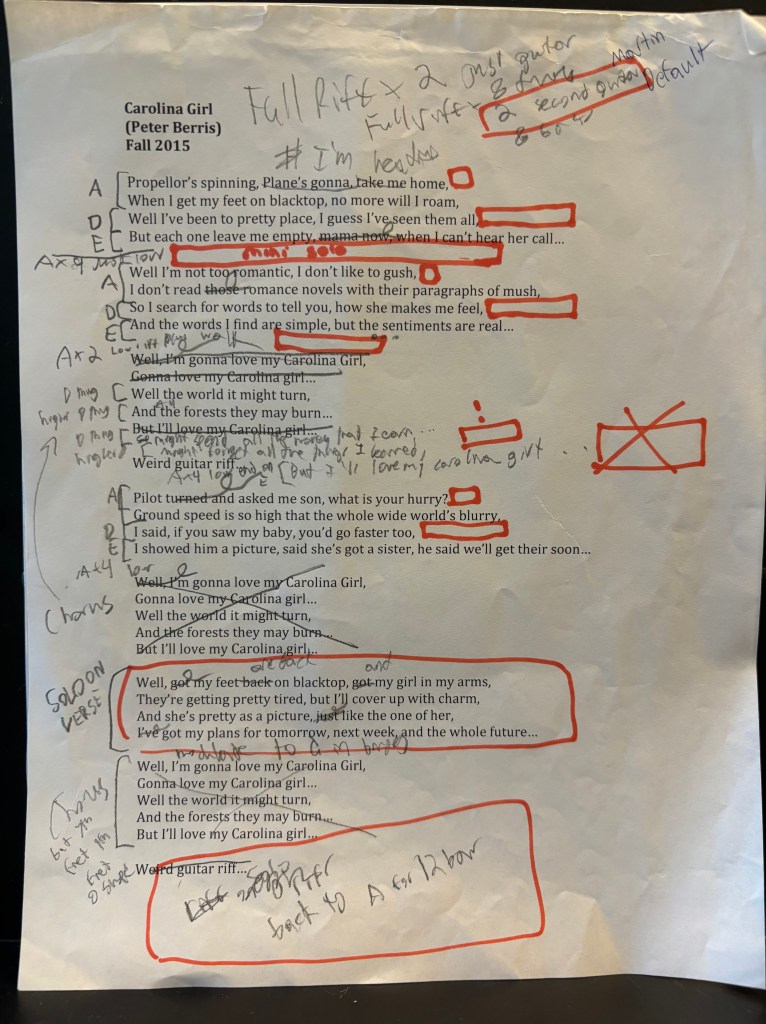
The choruses were another story. I wanted something catchy and anthemic like so many of the hard rock songs that have been FM radio staples. Something you could sing along with. I originally wrote the choruses of Carolina Girl to fit a different progression. I tinkered with the chorus lyrics to get them to fit my new riffs. If you compare the earlier version of Carolina Girl to the final version, you can hear how I did that by adding some additional words. Or, if you can read my appalling handwriting, you can see how I did it in this photo:
To give the composition a sense of momentum, I did something pretty unusual for me. I decided to modulate the final chorus to a higher key. Or at least I think I did? Who knows. The sad thing is that I took music theory in college and promptly forgot nearly all of it. It’s really never been a strength of mine. Anyway, I did something to the last chorus to try and make it pop a bit.
I wanted to leave plenty of room for guitar solos, which are another hallmark of hard rock. I left room for some longer guitar fills before and after the first verse. As a self-indulgent present to myself, I also budgeted two 12-bar solos. For the first, I replaced what was originally the final verse. I placed the second solo at the end.
Finally, I decided that it would be interesting to end the song with a unison-refrain (kind of like I did on my rockabilly project).
Step 4: The Fun Part – Picking Equipment, Performing, and Recording the Song
4.1: Creating a Scratch Track to Make Overdubbing Easy:
I started with a very basic scratch track. It consisted of a recording of the BeatBuddy Mini 2 set to “Rock 2” at 116 BPM. I overdubbed acoustic guitar. It was basically a proof of concept over which I could overdub the vocals and other instruments, before ultimately deleting the scratch track in its entirety from the final recording.
4.2: In Which a Person with a Nasal, Country Voice Tries to Figure Out How to Record Hard Rock Vocals:
My wife does an amazing impression of the late Bon Scott from AC/DC. Honestly, it’s a little unsettling but it really killed at the last family Thanksgiving. I originally thought about employing her vocal pyrotechnics for my hard rock project.
I settled for singing the song myself. I didn’t think the lyrics really required anything too aggressive. My voice is what it is, so I decided to just ham it up and have some fun. It sort of sounds like a rockabilly vocal sitting atop hard rock, but I can live with that. Part of the vintage sound is probably because I used the same EQ and delay effects that I did on my DIY rockabilly project.
I decided to add some backing vocals because I wasn’t thrilled with my singing in the choruses (what else is new). My wife was traveling at the time, so I recorded those myself. I used various effects to hopefully make them sound a bit less goofy than they have when I’ve done that previously. Or at least to make them sound goofy in the right way?
4.3: Coming Up With a Hard Rocking Rhythm Guitar Sound:
As a guitar addict, this is where the project really got delightful. For the riffs that comprise the rhythm guitar part, I wanted some British-voiced high gain crunch. In terms of guitar, this would ordinarily be the realm of something like a Gibson Les Paul or an SG–a solid body electric guitar outfitted with humbucking pickups. But I don’t actually own a Les Paul or an SG. And my current menagerie of electric guitars doesn’t include any humbuckers (to the actual shock and dismay of some other guitarists whom I’ve talked to recently).
Using P-90 Pickups to Achieve a Hard Rock Tone:
I do, however, have a guitar with P-90 pickups. For the uninitiated, P-90s have been around since the 1940s. P-90s are single coil pickups, but they have a much thicker tone than your typical Fender-style single-coil pickup. They have some of the meat and punch of a humbucker, while retaining much of the clarity that comes with single-coil pickups. This gives them a ton of sonic range. You can hear P-90s employed to great effect on jazz records by phenomenal players like Grant Green. But you can also hear P-90s on seminal rock recordings like The Who’s Live at Leeds and Mountain’s Mississippi Queen. One of the most exhilarating concert experiences I’ve had was hearing Keith Richards play his iconic riffs and licks through a TV-model Les Paul with a P-90. It was a musical flamethrower!
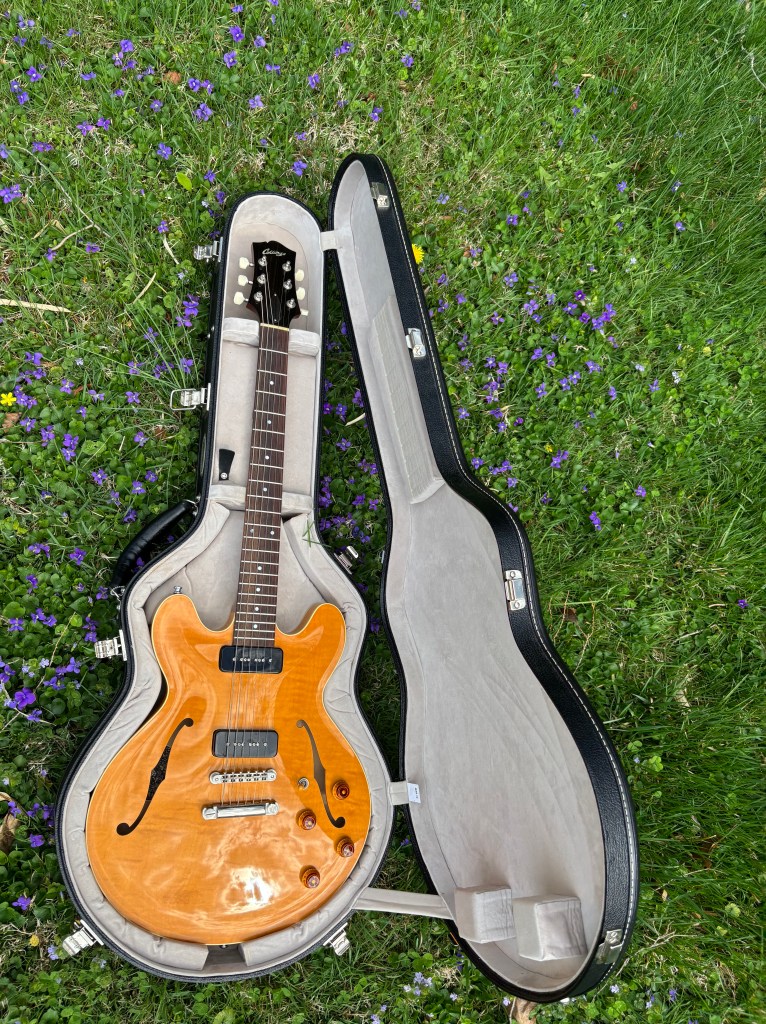
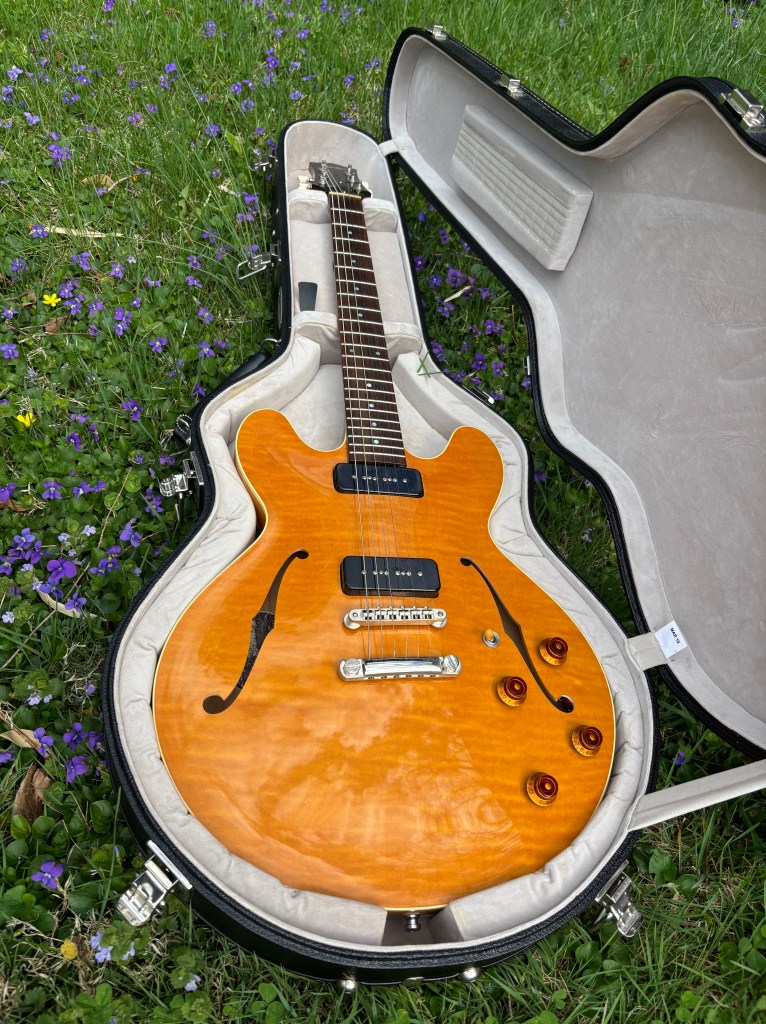
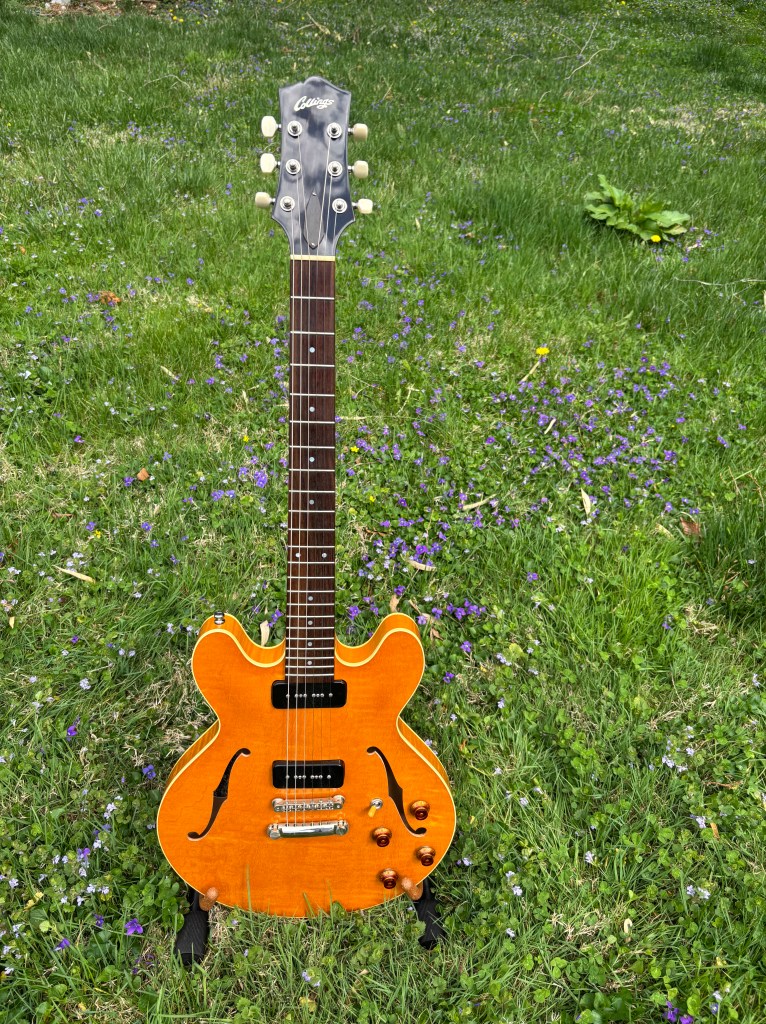
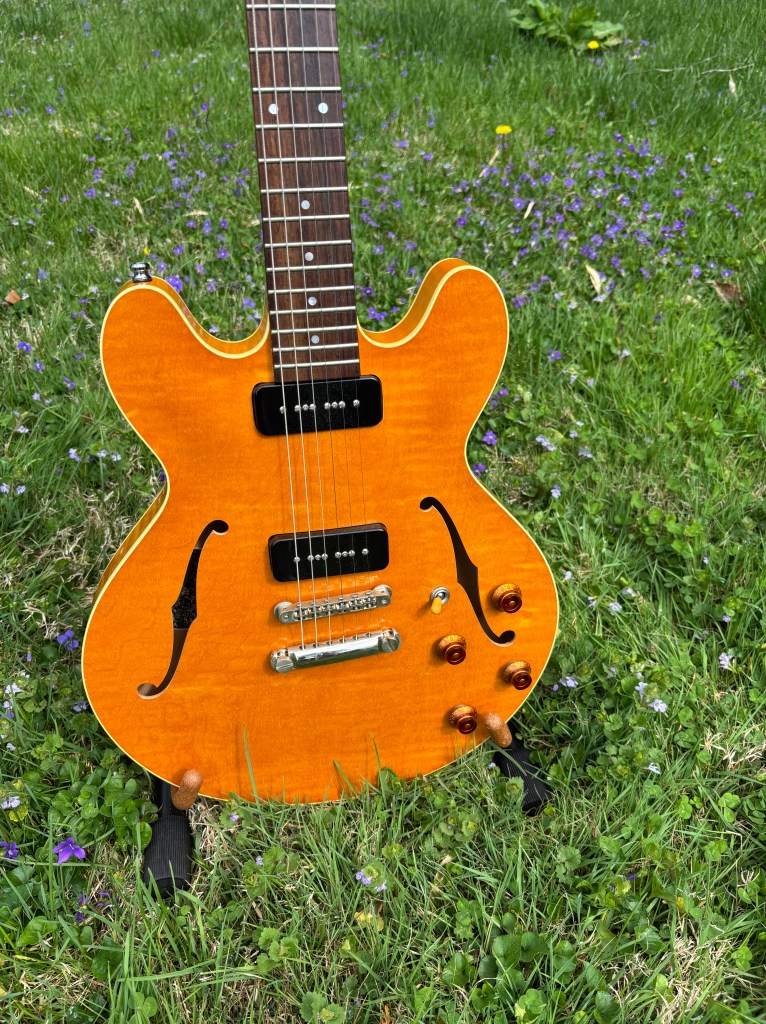
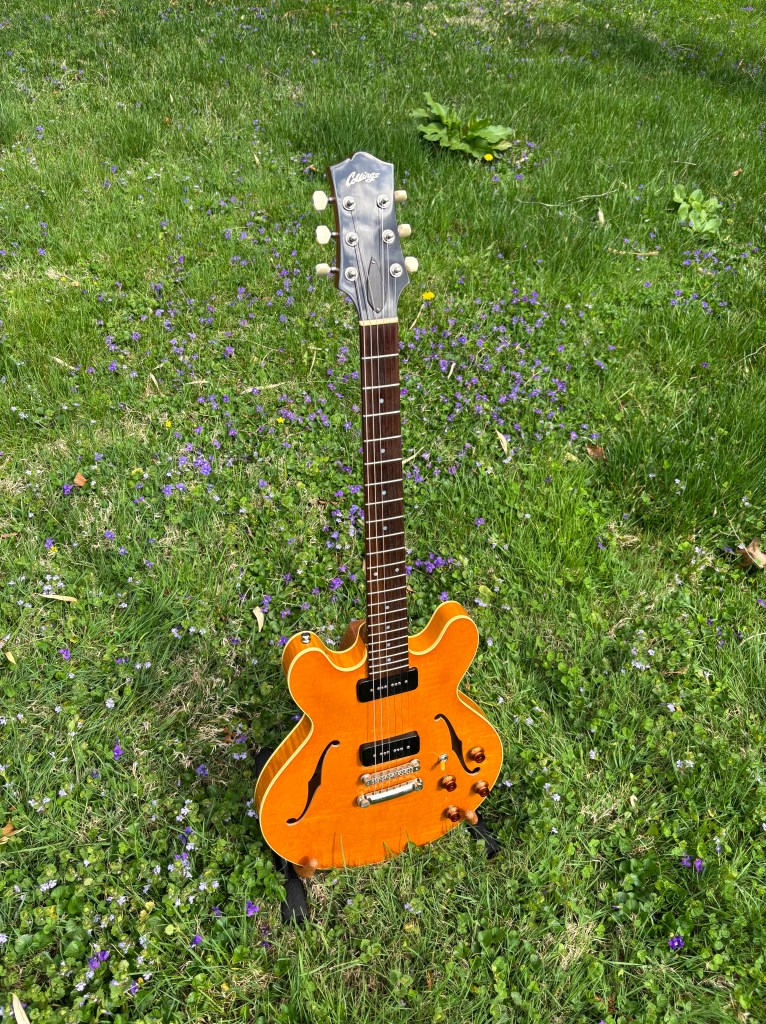
My P-90-equipped guitar is a Collings I-35 LC. It’s basically the Collings version of a Gibson ES-335. It’s really a phenomenal guitar in every respect and will hopefully be the subject of a future review. I used the bridge pickup for a really crisp tone.
Getting a High Gain British Sound Without Using an Amp So Loud it Blows Out Your Windows or Draws the Fuzz
Now, the classic way to get the high-gain sound I desired is to plug into a cranked Marshall stack. I don’t own a Marshall stack. Even if I did, there’s nowhere I could play it at full volume. Sighhhhh. The age old problem! Instead, I used my go-to amplifier, my faithful Fender Hot Rod Deluxe (Texas Red). Hey, it’s not a Marshall stack, but 40 watts is still L.O.U.D.! In fact, for my purposes it is much too loud. So once again, I tamed the volume of my Hot Rod Deluxe with a cheap Bugera attenuator.
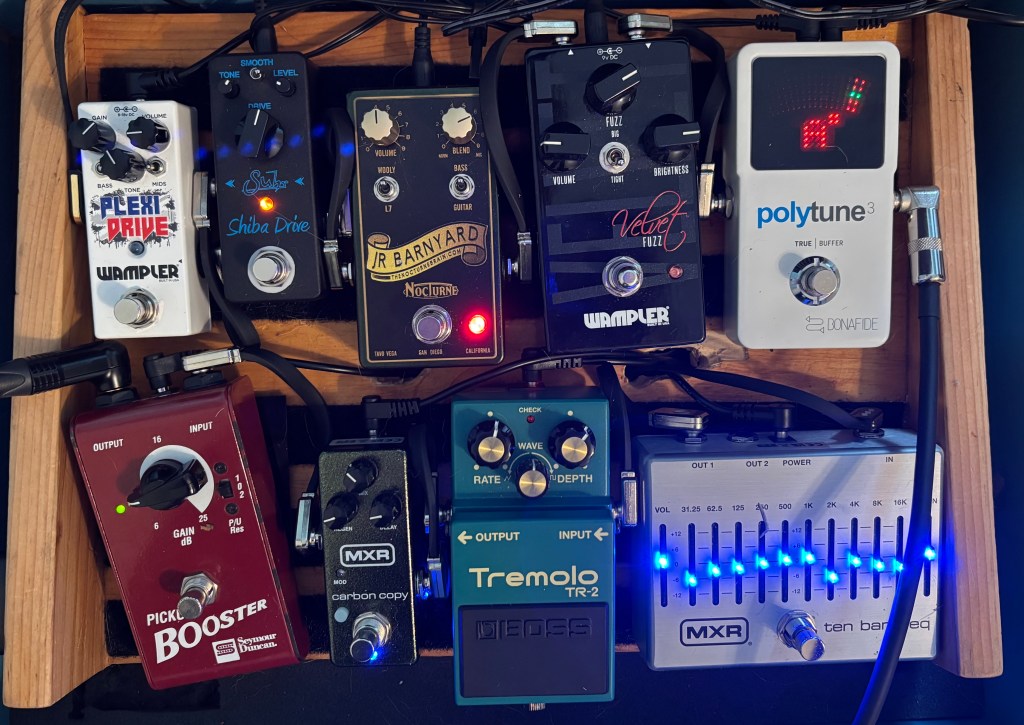
To get a British sound out of my Fender amp, I used three pedals:
- The first was a Suhr Shiba Drive Mini (Black), which I think is a quasi-tube screamer kind of thing. I often find overdrive pedals kind of grating, but so far I think this one has a very musical sound.
- Here, I fed it into a second overdrive pedal–a Wampler Plexi Drive Mini, which is a Marshall-In-A-Box pedal. I previously used that one on my DIY blues-rock project. It’s a really well-made pedal and I think with the right guitar setting can convincingly capture the British sound it’s going for.
- Finally, to push my amp a little bit harder I used a Seymour Duncan Pickup Booster from the 2010s. It’s my first boost pedal, but I was inspired to check it out after seeing it featured in a rig rundown from Boston blues band GA-20. I got mine for about $50, which I think makes this pedal a pretty respectable used bargain.
Playing the I-35 LC, through those pedals, into the attenuated Hot Rod Deluxe gave me the Marshall-esque sound that I wanted at a nearly tolerable volume (I still wore earplugs because I record in a small space). But initially, it didn’t sound as good on the recording as it did in the room. My first attempt at recording it resulted in an anemic tone.
An Easy Microphone Trick to Give the Rhythm Guitar More Depth and Realism
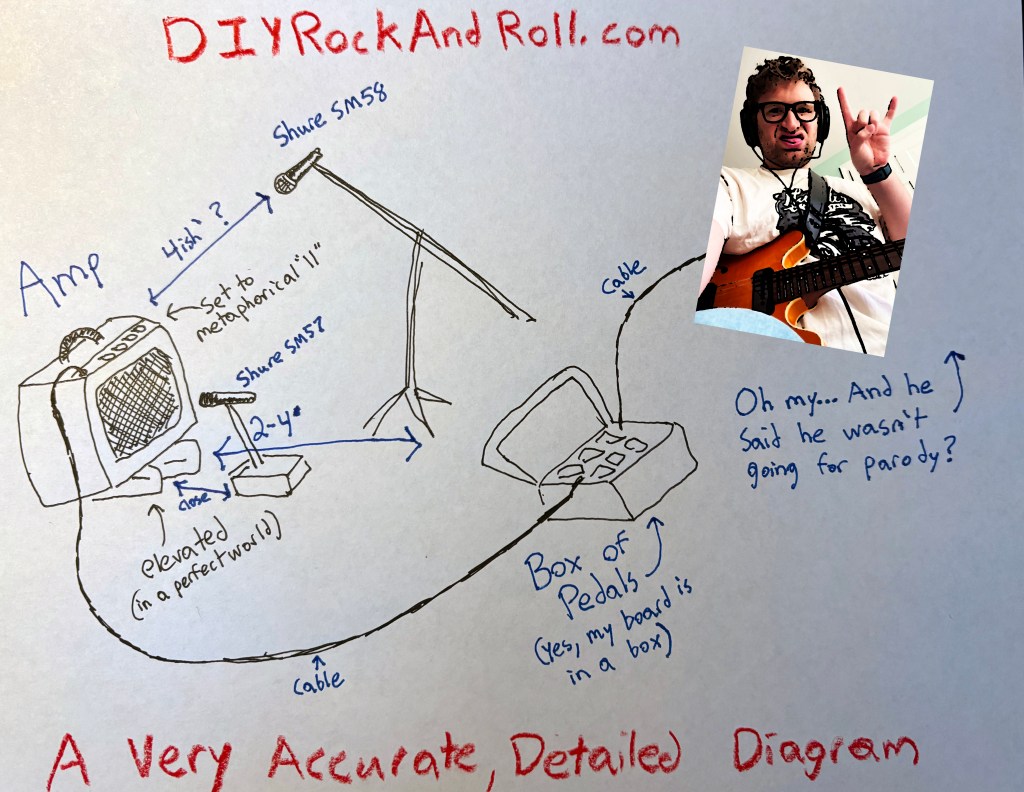
To make the recording sound more like the guitar actually did in the room, I used one more trick. I recently read an interview with Jimmie Vaughan where he talked about how he liked to mic the room he was in, not just the amp. So I placed a Shure SM57 a few feet above the amp and a couple of feet back. I mixed that to the right channel. It gave just a little bit of depth and presence to the main recording of the guitar, which was from a Shure SM58 that I had placed right in front of the amp (mixed to the left channel).
Here’s a DIYRockAndRoll.com exclusive informational graphic of the microphone and equipment placement I used:
4.4: Recording Bass Guitar that Adds Momentum and Interest, Without Distracting
I often enjoy the experience of adding bass guitar to a project. Maybe it’s because it feels like a nice change of pace, since I only ever play bass when I’m recording. Or maybe it’s because it combines attributes of the two instruments I do play–the lower register of a piano with the shape and ergonomics of a guitar. Anyway, I had a ton of fun coming up with a bass part for Carolina Girl.
There’s not too much to report here. Originally I tried coming up with a distinct bass part for the verses, but it distracted way too much from the main riff. Ultimately, I decided that the verses would sound better if I actually just doubled the riff on the bass guitar. I did add a few little runs and flourishes here and there. On the choruses, I decided to try for a simple, funky bass figure. Think of it as a little tribute to Stax Records, buried in the context of a hard rock project.
In terms of equipment, I used the same cheap Dean bass I’ve used on nearly every recording project since I was in college. It’s going straight into GarageBand via my Focusrite Scarlett 4i4. I used GarageBand’s build-in “pick brightener” setting, which did a nice job keeping the bass from getting really muddy. I think it made the runs pop a bit.
4.5: Figuring Out How to Add Percussion as Someone who Owns no Drums and Does Not Play Drums.
With the rhythm guitar and bass locked in, it was time to tackle the drums. Okay, if I’m honest, I can’t remember if I did the drums before or after the bass. Anyway, I ended up departing from the pattern of my click track quite a bit, particularly on the choruses, where I went for a funky rock pattern. Think of this as a poor man’s emulation of Charlie Watts on something like Miss You, with the ready acknowledgement that I am a very poor substitute. (I got to see the Stones with Charlie Watts once, and it was incredible!).
As with the last few DIY projects, I used my Yamaha FGDP-50 Finger Drum Pad. A full review of that gadget is forthcoming. Here, you’re hearing the hard rock drum “kit.” As I mentioned earlier, I removed the entirety of the click track from the mix once I added my drums.
4.6: Adding Lead Guitar that Does Not Get Lost in the Mix:
Finally, the time I spent outlining the song and allocating space for solos and fills paid dividends! I got to overdub electric guitar and pretend to be a Guitar God. That’s surely the most enjoyable part of these DIY rock experiments. Pure fun.
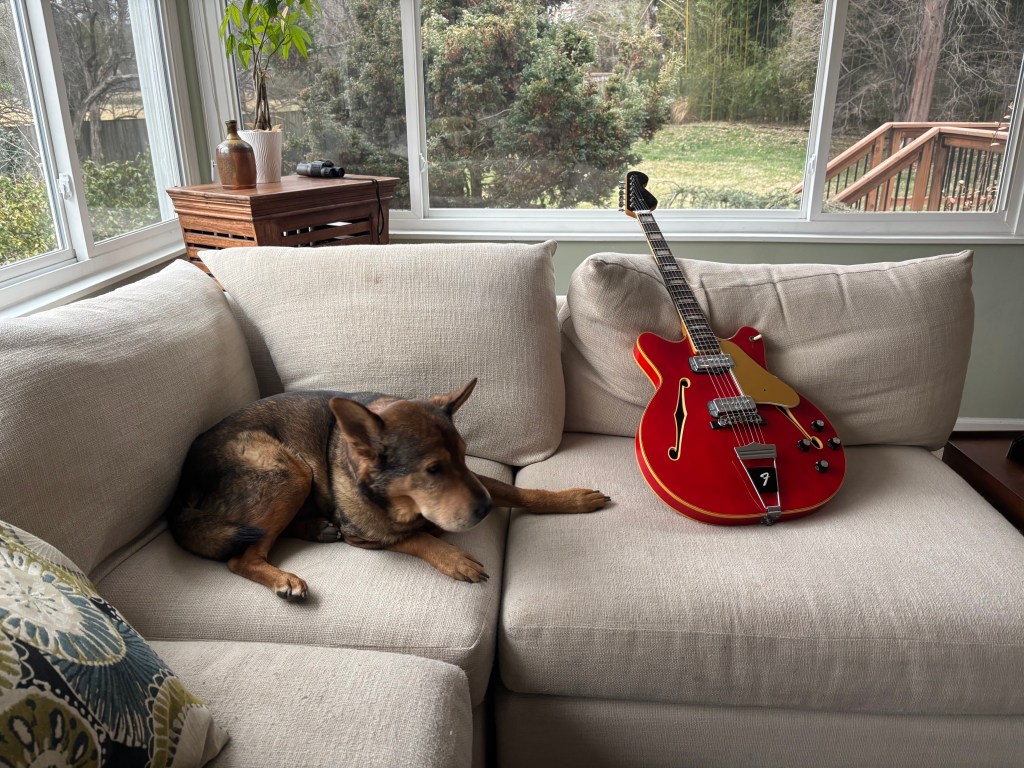
The 1966 Fender Coronado II strikes again–the perfect recording guitar when I am looking for something distinctive
Originally, I envisioned trying for a guitar tone similar to what I’d achieved with the rhythm guitar. After all, if you listen to AC/DC, the lead and rhythm guitars tend to have a similarly biting tone. I soon discovered that I didn’t really have an effective way to pull that off in my home recording without the two guitars sounding too similar and getting muddy.
So I decided to try something completely different for the lead and ended up with a slightly-psychedelic sixties vibe. How to obtain a 1960s guitar tone? Why, with blog-favorite–your friend and mine–the 1966 Fender Coronado II of course! There’s a bit of irony to using a guitar famous for having feedback issues with high gain music to record hard rock, but this is the kind of thing you can get away with through the magic of recording. In places, I actually used the feedback to my advantage, burying some intentional feedback in the mix during the first solo and the final chorus. I even tried to add a trippy panning effect like you might hear on a 60s rock album.
I have an extensive review of the Coronado here, but I’ve found that you can get an insane variety of sounds out of it whether you’re in the “studio” or on stage. For the fills, you’re mostly hearing the Coronado’s neck pickup, which is what I usually use. But I also employed the middle position for some of the extending soloing.
A trick to get a fuzzy tone out of a guitar that does not get along with fuzz pedals
Anyway, in my experience, one thing you can’t really do with a Coronado is play it with a fuzz pedal if you don’t want it to start screaming with uncontrollable feedback. Instead, I dialed in a fuzz-like tone in an unorthodox way that involved several different pedals and effects:
- I first fed the guitar through a NocturneBrain Junior Barnyard preamp pedal. I’ve used that one a ton on other projects. If you haven’t encountered the Junior Barnyard previously, it’s a boutique pedal designed to emulate a 1940s Gibson octal tube amp. It excels at producing a warm 1940s tone like you might hear on a Charlie Christian recording. I didn’t do that here, however.
- Instead, I used the Junior Barnyard to slam the Suhr Shiba Drive Mini. Something about the pseudo-1940s tone of the Junior Barnyard combined with the Suhr created a warm, fuzzy tone that I liked.
- I used an MXR 10-Band EQ pedal to further shape the tone. I have that set based on an article I read that discussed how to tweak EQ to mirror what B.B. King did with the Varitone switch on his guitar. Even when I’m doing stuff that sounds nothing like B.B. King, I’ve found I kind of like that setting.
- I also added a bit of delay with an MXR Carbon Copy.
- I employed the Seymour Duncan Pickup Booster to drive my amp a little harder.
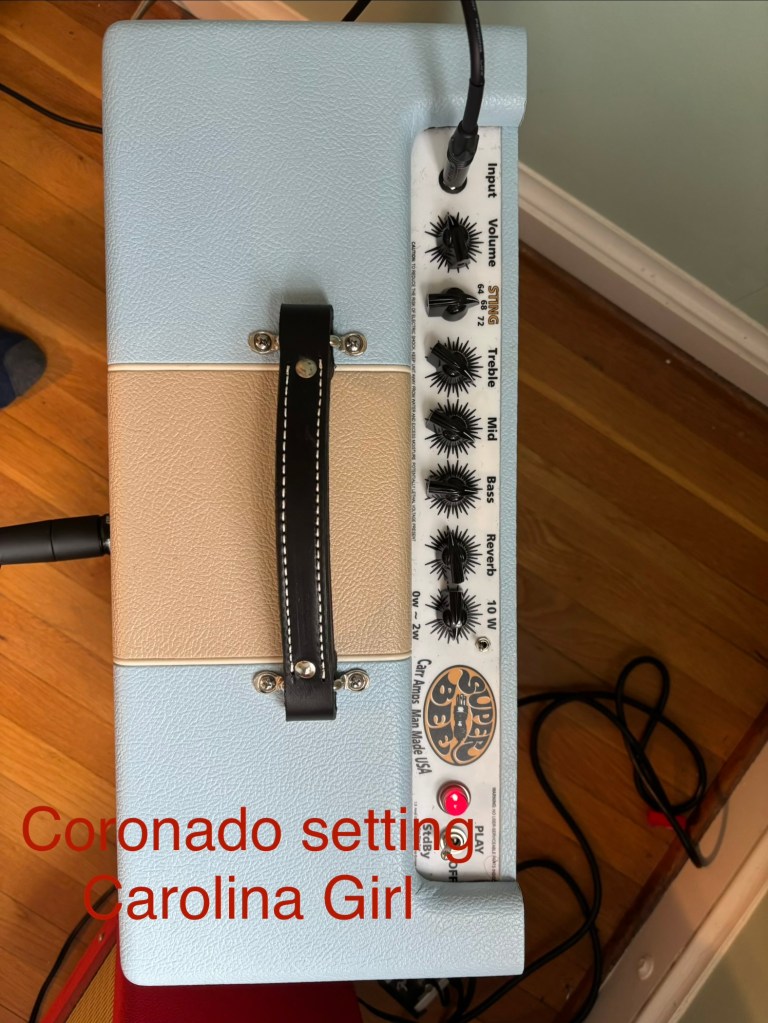
Picking a different amp can also help get a distinct tone if you want the lead guitar to pop
Speaking of amp, the lead guitar amp is my Carr Super Bee. That amp is Carr’s compact take on a Fender Super Reverb. I’ve used that one with the Coronado on other projects, and recently at a show. For whatever reason, The Super Bee and the Coronado work really, really well together.
Using the same easy microphone trick to give the lead guitar more depth and realism
As with the rhythm guitar, I tried the same microphone for the lead guitar except in the inverse. The main recording of the lead guitar is mixed to the right channel, and comes from the Shure SM58 placed right in front of the amp. Then, I placed my Shure SM 57 higher and further back from the amp to capture more of the ambient sound. That is mixed off to the left. See diagram above.
Step 5: Mixing and Mastering on a Budget Using Just GarageBand and Free Plug Ins
This is always my least favorite part of DIY Rock Experiments. I love songwriting. I love performing. I love gear. I hate sound engineering. For me, it’s a necessary evil.
I make all of these projects on my laptop, using a couple of microphones, GarageBand, and a Focusrite Scarlett 4i4. My “studio” is a small, echoey bedroom. The advantage of this approach is that you can experiment endlessly without running up massive studio bills. The downside is that it’s highly unlikely you’ll come up with a recording that’s going to satisfy any audiophiles or sound like it was cut at RCA Studio B.
But take heart. First, some of the greatest rock and roll all of all time was recorded with primitive equipment in small studios. Second, there are some tricks that can really make a big difference even if you’re using basic recording gear.
If you’ve ever tried recording at home and have noticed that the mix sounds a bit dull, or the volume level is much quieter than professional recordings, you can actually fix that quite a bit in GarageBand. For free! Rather than me telling you how to do that, let me instead paste in a favorite instructional video. This comes from The Band Guide. To be clear, I am not affiliated with this video series in any way. I have just found these videos enormously helpful as someone who is basically a beginner a DIY sound engineering.
Step 5: The Challenge of Creating Album Art
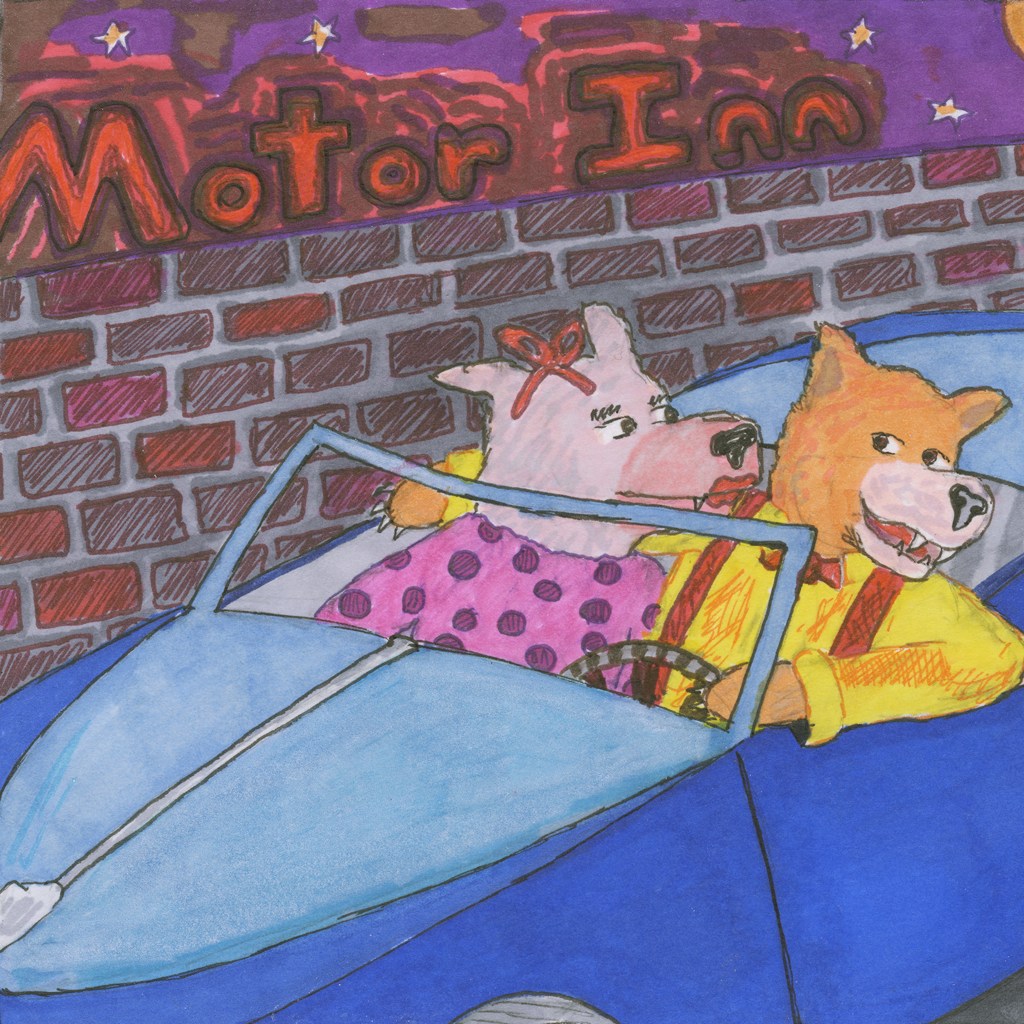
I was really stumped about what to do for album art on this one. I feel like back in the 1960s, the record label would have thrown some lettering over a stock photo of a random model smiling and called it a day.
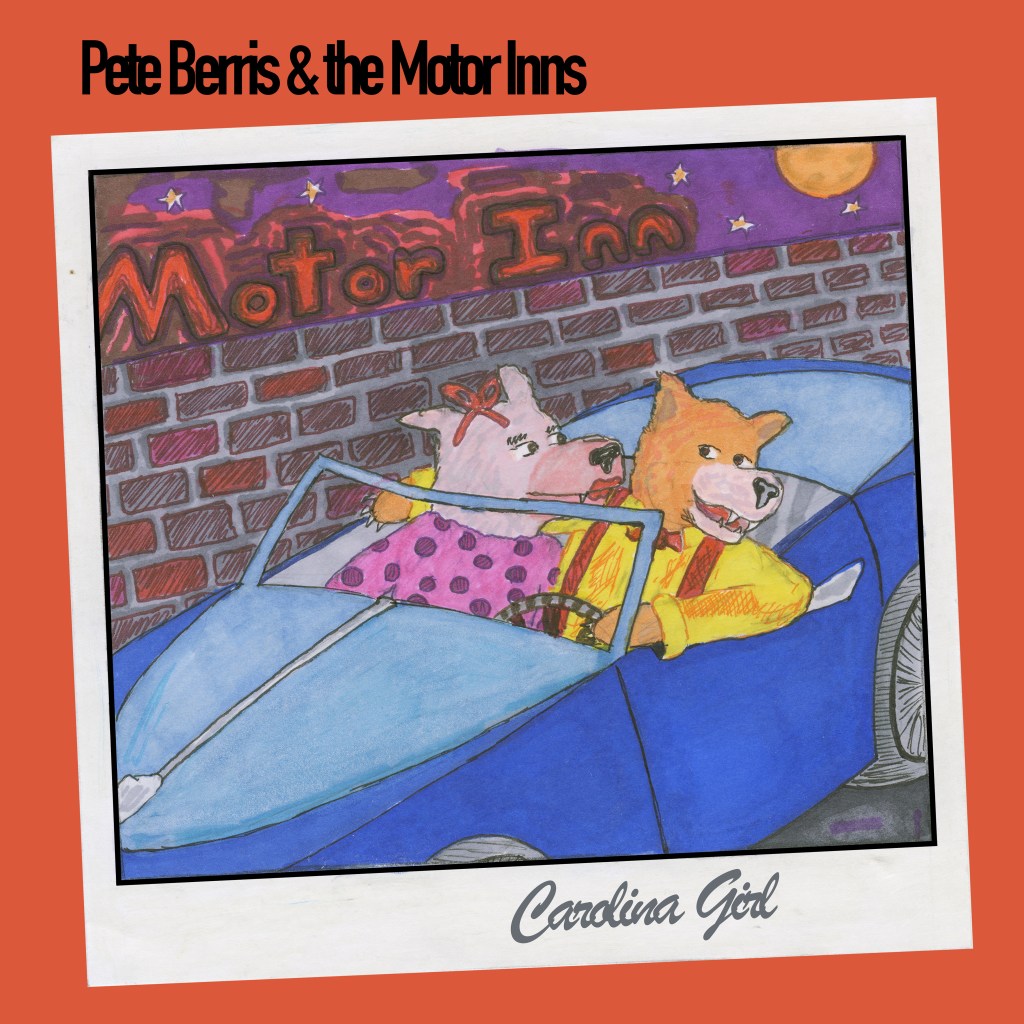
For a variety of reasons, that was not a plausible option here. I decided to repurpose an illustration I did quite a while back. Clearly the Motor Inn motif was an artistic muse long before I started my “band.” Anyway, I decided to continue with the black lettering and bright colors of my last release.
Step 6: Shameless Self-Promotion/Posting the Final Recording
Well, if my sound engineering skills are bad, my self promotion skills are even worse. If anyone has any great ideas, drop me a line haha. For now, I’ll satisfy myself by posting my finished product on this obscure music blog. So, without further ado, here’s Carolina Girl! You can listen to it for free. Or you can buy it if you want to help support my blog and give my fictional band mates confidence. (Oooh, maybe I’m getting better at the shameless part!). Either way, I hope you enjoy:
Conclusion
This might be the most fun I’ve had recording a DIY Rock Experiment so far. Going for hard rock gave me the freedom to play with sounds and ideas that never would have worked on my typical fare. That said, the project didn’t actually take me out of my comfort zone as much as I expected it to. Here are a few reasons I think that might be the case.
- First, so much hard rock, or at least so much of the hard rock I’ve listened to, is still based heavily in the blues. If you were to dissect a lot of hard rock songs, you’d be able to find a heck of a lot of Chuck Berry and Albert King. A lot of the differences are more about tone or phrasing than underlying ingredients. But if you have a background in blues or other folk styles, they may be more transferable to hard rock than you’d guess.
- Another reason it maybe didn’t feel too uncomfortable is because I chose to rework an existing set of lyrics, rather than writing something new with the intent of it being hard rock. That made the project feel a lot more natural, and hopefully I avoided parody or pastiche. That’s probably good advice for any musical project–do what feels like a good fit.
- Similarly, I sang Carolina Girl much as I would any of my other singer-songwriter stuff. I just had a bit more fun with it. And fun is what hard rock is all about, right? Although, next time I may still ask my wife to do her Bon Scott hard rock thing…
Anyway, if I can record “hard rock” at home without a Marshall Stack, using a quirky hollow-body Fender from the 1960s, you probably can make hard rock too. I endorse giving it a try, because if you have half as much fun as I did recording Carolina Girl, it’s well worth the effort. If you do, let me know how it goes!
